
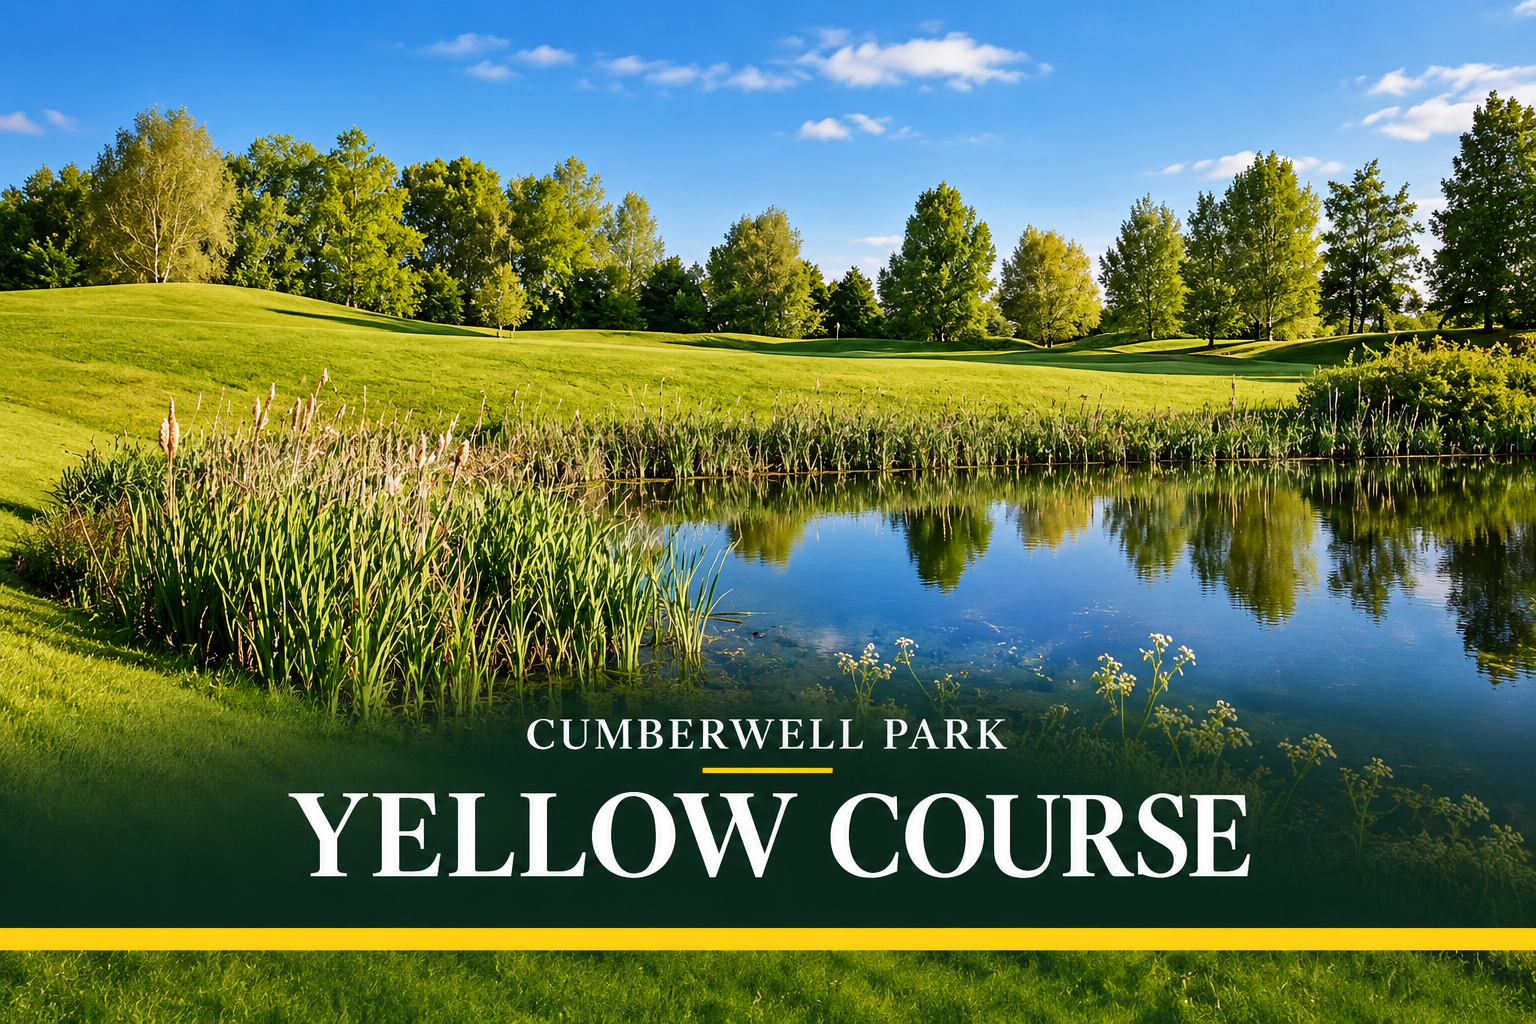
The Yellow Course is one of the original nine-hole courses at Cumberwell Park and formed part of the club’s original 18 holes alongside the Red Course.
It has a very different character to Red, with more woodland and water influencing the way several of the holes are played. Cumberwell describes Yellow simply as “ancient woodland and natural water features”, which sums it up rather well.
I’ve played these holes many times over the years, including before becoming a member at Cumberwell.
Play the Yellow Course Hole by Hole
Hole 10 Par 4
Yellow starts with a short par 4 that immediately gives you a decision to make.
You can take something shorter from the tee and leave yourself an approach, or take on the green if you’re confident enough to have a go.
The green itself can be tricky, particularly when the flag is on the left, and the slopes can leave some interesting putts.
It’s a good introduction to Yellow because distance isn’t really the problem; deciding how aggressively you want to play it is.
So far, I’ve made everything from an eagle 2 to a bogey 5 here
Hole 11 Par 5
From the tee, the bunker in the distance looks like the obvious target, but the hole turns much farther to the right than you might initially realise.
For most golfers the bunker provides a useful aiming point. Longer hitters can take a more aggressive line around the dogleg or over the edge of the wood.
The old dewpond, known as the sheep-dip, adds another element of risk and reward as you work your way towards the green.
Hole 12 Par 5
Despite being a par 5, the tee shot is probably the part of the hole that deserves the most attention.
The ground naturally feeds towards the pond on the left, so keeping the drive towards the woodland on the right gives you more room.
From a good position the green may be reachable, but the stream and greenside bunkers mean there is still plenty to consider if you’re tempted to attack.
It’s a hole where being bold can pay off, provided the first shot has put you somewhere useful.
Hole 13 Par 3
A natural par 3 set among the trees.
The contours allow you to use the left side and feed the ball towards the green, while a flag positioned on the right can tempt you into taking a more direct line over the bunkers.
There is also a drainage ditch beyond the green on that side, so being too aggressive can quickly turn a good opportunity into something less enjoyable.
The green itself is unusually flat by Cumberwell standards.
Hole 14 Par 4
One of the most picturesque holes on Yellow, with the lake playing a major part in the strategy.
The closer you can position your tee shot towards the water, the more of the green you open up for the approach.
That doesn’t necessarily mean driver is always the answer. Taking too much club can narrow the landing area considerably between the lake and the mounding on the opposite side.
The back-left pin position also brings a partially hidden bunker into play.
Hole 15 Par 5
The 15th is a par 5 for women and a par 4 for men, making it a very different proposition depending on which card you’re playing from.
It’s one of the longer holes on the Yellow Course and continues the run through the more wooded part of Cumberwell.
Get a good drive away and par is very achievable, with the possibility of something better.
Hole 16 Par 3
One of the feature holes at Cumberwell.
It’s a downhill par 3 played across water, with the lake protecting both the front and left side of the green.
The temptation to attack a left-hand flag isn’t necessarily worth it. The middle of the green leaves a perfectly good chance of making par without bringing quite so much water into the shot.
You still have to commit to it, though. A half-hit shot doesn’t tend to end particularly well here.
I’ve made bogey here from the Purple tees and birdie from the Green tees. That’s golf.
Hole 17 Par 4
A short par 4 that changes considerably depending on which tee you’re playing.
From farther back it can look extremely intimidating, while moving forward turns it into a much more obvious birdie opportunity.
The stream runs along the right side of the hole, so it remains in your thoughts from the tee through to the approach.
The fairway also opens up more than it initially appears, which makes the view from the tee slightly more intimidating than the actual landing area.
Hole 18 Par 4
Seven bunkers running up the right side make the strategy fairly obvious — although avoiding them isn’t always quite as straightforward.
The wind commonly comes from the right, so using that wind rather than fighting it can be the sensible approach from the tee.
The second shot is uphill and can play longer than it looks, while the safer angle into the green generally comes from the left side of the fairway.
If Yellow is the second nine of your round, a par here is a very satisfactory way to finish.