
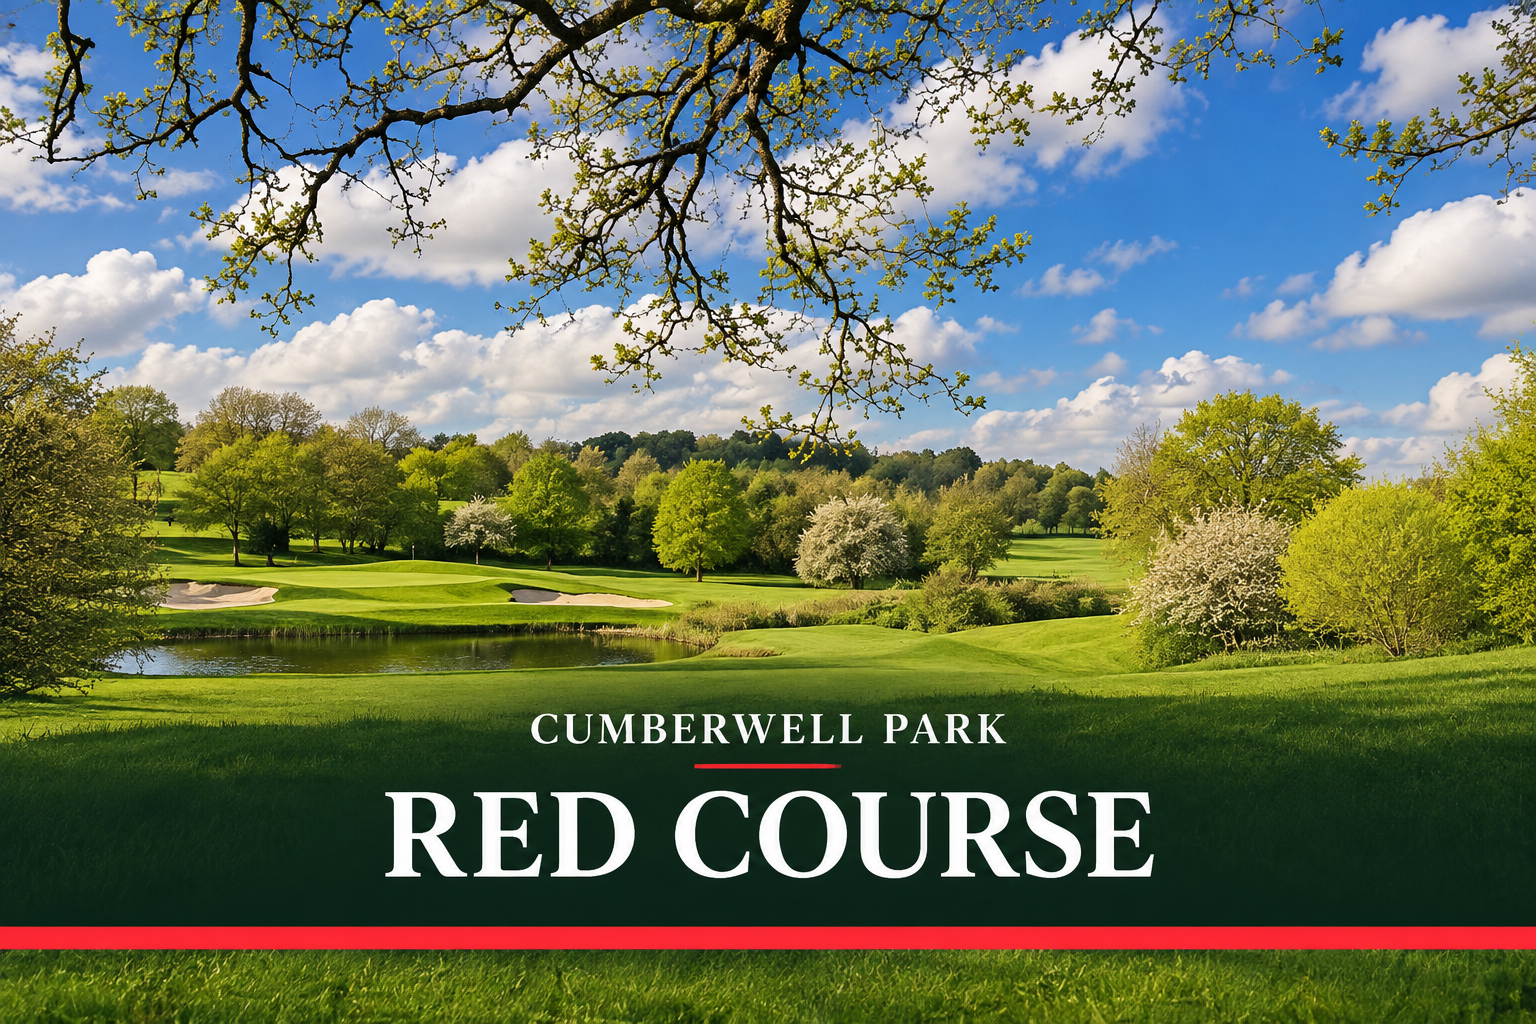
The Red Course is one of the original nine-hole courses at Cumberwell Park and has a very different feel from some of the newer parts of the club.
It’s an undulating parkland course with mature trees, streams and plenty of changes in elevation. Cumberwell describes it as “undulating parkland with flowing streams and rolling countryside”, which is a pretty good summary of what you get.
Red was part of the original 18 holes when Cumberwell opened in 1994, alongside the Yellow Course.
I’ve played these holes many times over the years, including before I became a member at Cumberwell. The notes below combine that experience with what I’m learning now that I’m playing the course much more regularly.
Play the Red Course Hole by Hole
Hole 1 Par 4

The opening hole is a good test straight away and normally plays into the prevailing wind.
I like the left side from the tee because it feels like it opens up the angle into the green, although there is out of bounds beyond the left hedges, and I nearly found it
There does feel like more room to the right, but from there the green feels harder to approach, but that may just be how I see the hole
It’s one of those holes where simply finding the fairway doesn’t necessarily mean you’ve left yourself the easiest second shot.
Hole 2 Par 4

Another substantial par 4 and not necessarily the hole you want when you’re still trying to get your swing going.
The wind often comes from left to right and a decent drive can still leave a fairly long second shot.
There aren’t greenside bunkers to worry about, but a diagonal swale on the right side of the green can move a slightly misplaced approach farther away than you might expect.
Par is always a good score here.
Hole 3 Par 3
The first par 3 on Red is one where club selection matters.
From farther back it can be a substantial shot, particularly into the wind. Anything short can come back down the slope towards the bunkers — or find the water in front of the green.
The tee can also be sheltered by the trees, so the wind around the green isn’t always as obvious as it first appears.
Hole 4 Par 4
The fourth normally gives you a little more help because it tends to play downwind.
Taking on the left side over the sleeper-faced bunker gives you a better angle into the green. Playing safely farther right leaves plenty of fairway, but the old oak and the mound protecting the right side of the green can then interfere with the approach.
It’s a good example of a hole where where you hit the fairway matters as much as whether you hit it.
Hole 5 Par 4
This is one of the more interesting decision holes on the Red Course.
Depending on the tee and how you’re playing, there are several choices: take on the green, lay back short of the bunkers or try to find the gap between the bunkers and the trouble down the left.
Get the decision and execution right and there’s a genuine opportunity to make a good score.
Get it wrong and the bunkers and sloping green can make the hole considerably more complicated.
Hole 6 Par 4

The sixth becomes a very different hole depending on which tees you’re playing.
There aren’t any bunkers, but that doesn’t mean there isn’t trouble. The mounding on both sides of the fairway can send an inaccurate shot somewhere much less useful.
The green is also long, so simply hitting it isn’t necessarily the end of the job. Getting the approach distance right matters if you don’t want to leave yourself a very long first putt.
Hole 7 Par 3
A downhill par 3 playing towards a green surrounded by the ancient Hayswood.
Distance control is the important part here. Anything long can catch the bank behind the green and disappear into considerably more trouble than the length of the hole suggests.
It’s short enough to offer a genuine birdie opportunity but also perfectly capable of doing damage to the scorecard.
Hole 8 Par 4

The eighth is one of the strongest holes on the Red Course and the stroke index reflects that.
A stream runs down the left and encourages you to move away from it, but going too far right can leave a long approach from the rough.
A confident shot down the centre gives you a much better chance of approaching the small green, which sits beyond the stream on the dogleg.
Hole 9 Par 5
After the climb to the ninth tee, the final hole gives you plenty of fairway to work with.
It’s long from the back, but it generally plays downwind. The right side can be useful from the tee, particularly if you can use the slope to move the ball back towards the fairway.
The interesting decision comes farther up the hole. The green runs away from you, so getting as close as possible isn’t automatically the easiest strategy. Sometimes leaving a fuller third shot can make controlling the approach considerably easier.