
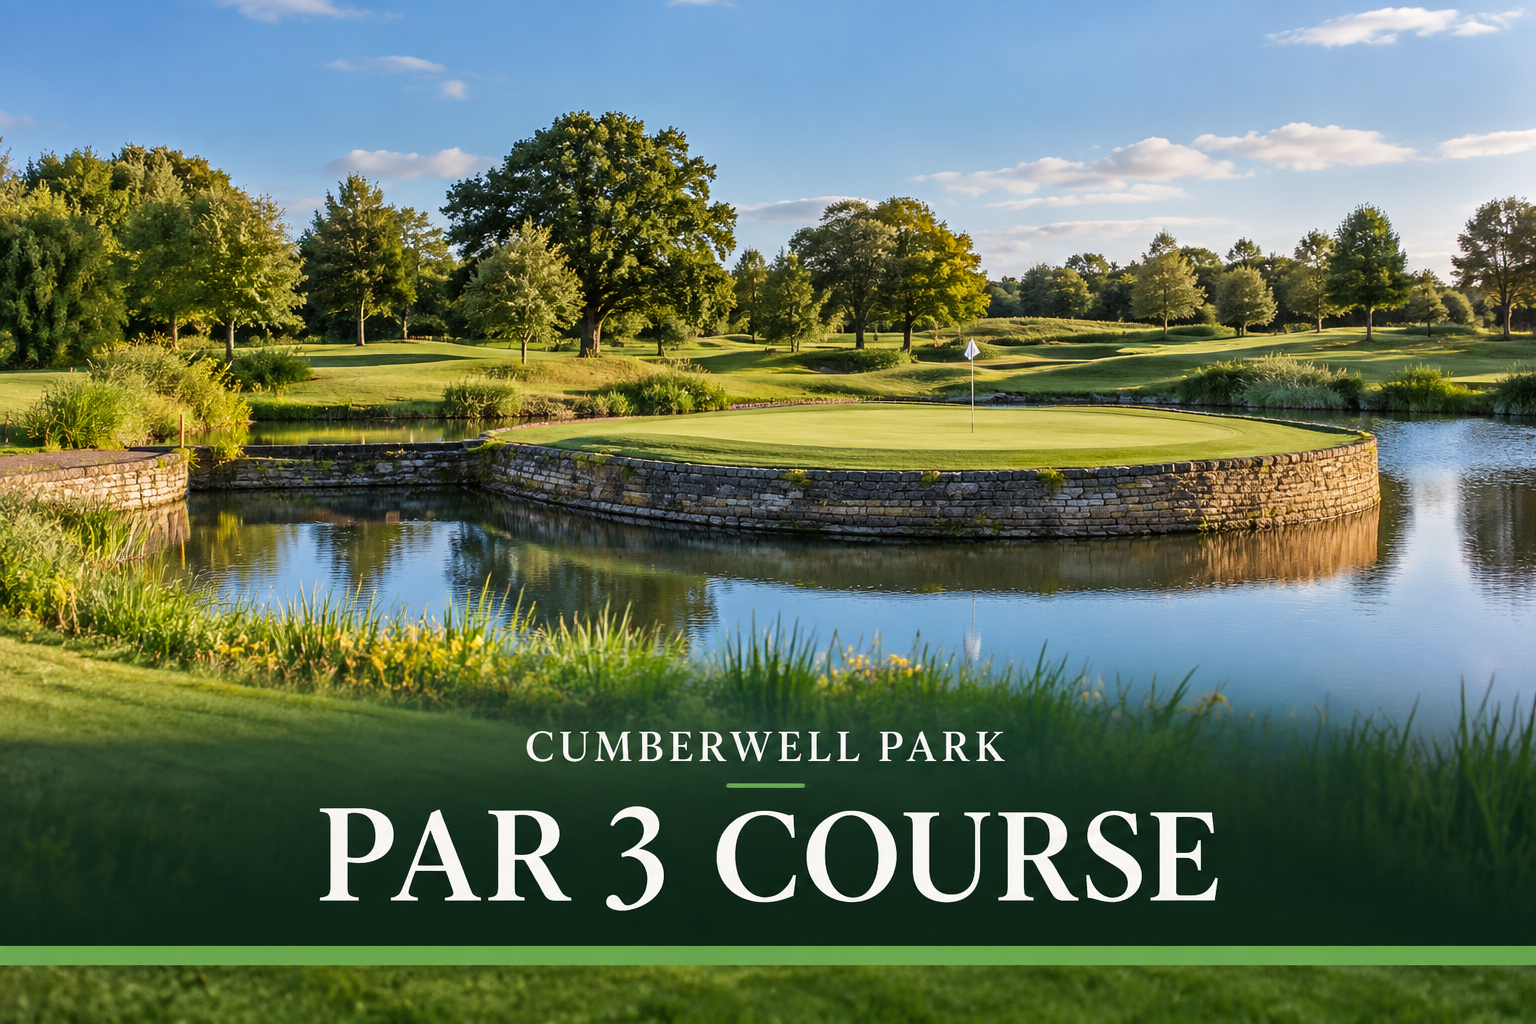
The Par 3 Course at Cumberwell Park is a nine-hole short course and somewhere Emma and I enjoy playing regularly.
It’s useful for getting out on the course when we don’t necessarily want to play a full round, but that doesn’t mean the golf is particularly easy.
The holes offer quite a bit of variety, with different green designs, bunkering, slopes and water, as well as enough changes in distance to make you think about more than simply hitting the same club nine times.
Some of the more memorable holes include the 1st, with its raised fortress-style green, the 4th with its Biarritz-style design, and the 8th, which plays to an island green surrounded by a stone wall.
It’s a great place to dial in your approach game, and you’ll be very happy if you manage to play to level par or better
Play the Par 3 Course Hole by Hole
We’ve been filming our rounds on the Par 3 Course so you can see how each hole looks and plays, including the good shots, the bad ones and everything in between.
We also play from different tee boxes. Changing the distance and position can make quite a difference to how a short hole plays.
Below are our thoughts on each hole, along with videos of Emma and me playing them. We’ll add the remaining holes as we film them.
Hole 1 Par 3

The opening hole plays to a raised, fortress-style green surrounded by bunkers.
Choosing the right club is important here. Anything that comes up short or misses the putting surface can leave a difficult recovery from one of the surrounding bunkers.
It’s a good introduction to the course and a reminder that even a relatively short par 3 can be demanding when the green is well protected.
Hole 2 Par 3

The second measures 95 yards from the Black Tees and plays slightly uphill.
Depending on the time of day, you can find yourself hitting directly into the sun, which doesn’t make judging the shot any easier.
The green is particularly long, with potentially two or three clubs’ difference between a front and back pin position.
Getting the distance right is important. Finding the front of the green when the flag is at the back can still leave a very long first putt.
Hole 3 Par 3

The third measures 107 yards from the Black Tees and plays slightly downhill.
A bunker protects the front-left of the green, while another sits farther back on the right and isn’t always visible from the tee.
The green itself is large and slopes from back to front, with some substantial breaks.
It’s another hole where hitting the green doesn’t necessarily mean the difficult part is over. Leaving yourself a manageable first putt can make a big difference.
Hole 4 Par 3

The fourth measures 135 yards from the Black Tees and has a bunker protecting the front-left of the green, with plenty of slopes and undulations on the right.
The green has some particularly severe slopes. A downhill putt can be extremely difficult to stop, while putting back uphill requires considerably more pace.
Choosing the correct side of the green matters here. Even a well-struck tee shot can leave a difficult two-putt if you finish in the wrong position.
Hole 5 Par 3

The fifth measures 123 yards from the Black Tees, although it often seems to play longer than that. Whenever I play it, the wind feels like it’s against me.
Bunkers protect the front-left of the green, while missing to the right brings steep run-off areas and plenty of rough into play.
It’s worth making sure you’ve taken enough club. A small mistake can leave a surprisingly difficult recovery.
Hole 6 Par 3

The sixth measures 107 yards from the Black Tees and has three bunkers guarding the right side of the hole, two before the green and another just off the putting surface.
The green is large and slopes towards the back-right, with plenty of undulations.
An accurate tee shot is rewarded, but an errant shot can leave a difficult chip or a long putt across the green. It’s another short hole where finding the right part of the putting surface matters as much as simply reaching it.
Hole 7 Par 3
The seventh plays from an elevated tee, with bunkers protecting the front of the green and a steep slope leading to the putting surface.
There’s a decision to make from the tee. Do you fly the ball all the way onto the green, or aim slightly left and use the contours to feed the ball towards it?
Bunkers also protect the right side, and anything too far right can find the hedges or, worse still, the pond.
It’s a hole where choosing the right shot matters just as much as choosing the right club.
Hole 8 Par 3
The eighth is probably the standout hole on the Par 3 Course, playing to an island green surrounded by water and a stone wall.
A bunker protects the right-hand side, but avoiding the water is only part of the challenge.
The green has a substantial camber through the middle, creating slopes that fall away in both directions. Finding the putting surface is obviously the first priority, but where the ball finishes can make a big difference.
If you do find the water, there’s a drop zone at the back-left of the green, although playing from there can be almost as tricky as the original tee shot.
It’s a hole where simply finding dry land isn’t necessarily enough. Get on the wrong side of the slopes and even a successful tee shot can leave a difficult two-putt.
Hole 9 Par 3
The ninth plays uphill and usually requires at least one more club than you might initially think.
The green slopes quite severely from right to left, so where you finish your tee shot can make a big difference. Leave yourself on the wrong side and you could be facing a long uphill putt or a very quick downhill one. Neither is particularly inviting.
A bunker protects the front-left of the green, and even a ball that lands on the front of the putting surface can catch the slope and roll back into the sand.
It’s a demanding little finishing hole where getting the distance and position right is important if you want to finish with a par.
We’ll add the videos for Holes 7–9 as we play and film them.