

The Orange Course has a noticeably different character to the older courses at Cumberwell Park.
It’s more open, with a links-style downland feel, wide views across the surrounding countryside and plenty of slopes and contours influencing how the holes play.
Orange opened in 2007 as Cumberwell’s fourth nine-hole course, joining Red, Yellow and Blue.
I’ve played these holes a few times over the years, but the open appearance can still be deceptive.
There is often plenty of room from the tee, while the real difficulty comes from choosing the right position for the next shot and dealing with some very interesting greens.
Play the Orange Course Hole by Hole
Hole 28 Par 4

The opening hole immediately introduces you to the different character of Orange.
There’s plenty of fairway available, but where you position the tee shot still matters. Longer hitters can take on the green, but do run the risk of going through the back of the green.
Although getting close doesn’t necessarily make the hole easy. There are some severe slopes around the green, including a downhill section at the front, so a short par 4 can quickly become more complicated once you get the putter in your hands.
I spent my first few rounds as a member hitting driver from the tee, only to watch it go through the back of the green. My attempts with 3-wood have found both the left and right bunkers. At the moment I’m hitting a mid-iron and leaving myself a wedge, depending on the wind.
Hole 29 Par 3

From the back tees, the 29th can be a substantial par 3.
From farther forward, the slopes on the right can be used to feed the ball towards the green rather than attacking the flag directly.
Make sure you choose enough club. I’ve hit the front of the green a few times, only to watch the ball roll back off and finish in the front-left bunker.
The green has plenty of movement in it, so hitting the putting surface doesn’t necessarily mean the difficult part is over.
Hole 30 Par 4

A medium-length par 4 where the best position from the tee can depend on where the flag is.
Generally, playing towards the right side opens up more of the green. If the flag is positioned on the right, however, approaching from the left can give you the better angle.
Finding the fairway is important, but so is leaving the ball in the right place on the green. Downhill putts here can be considerably more entertaining than you might have intended.
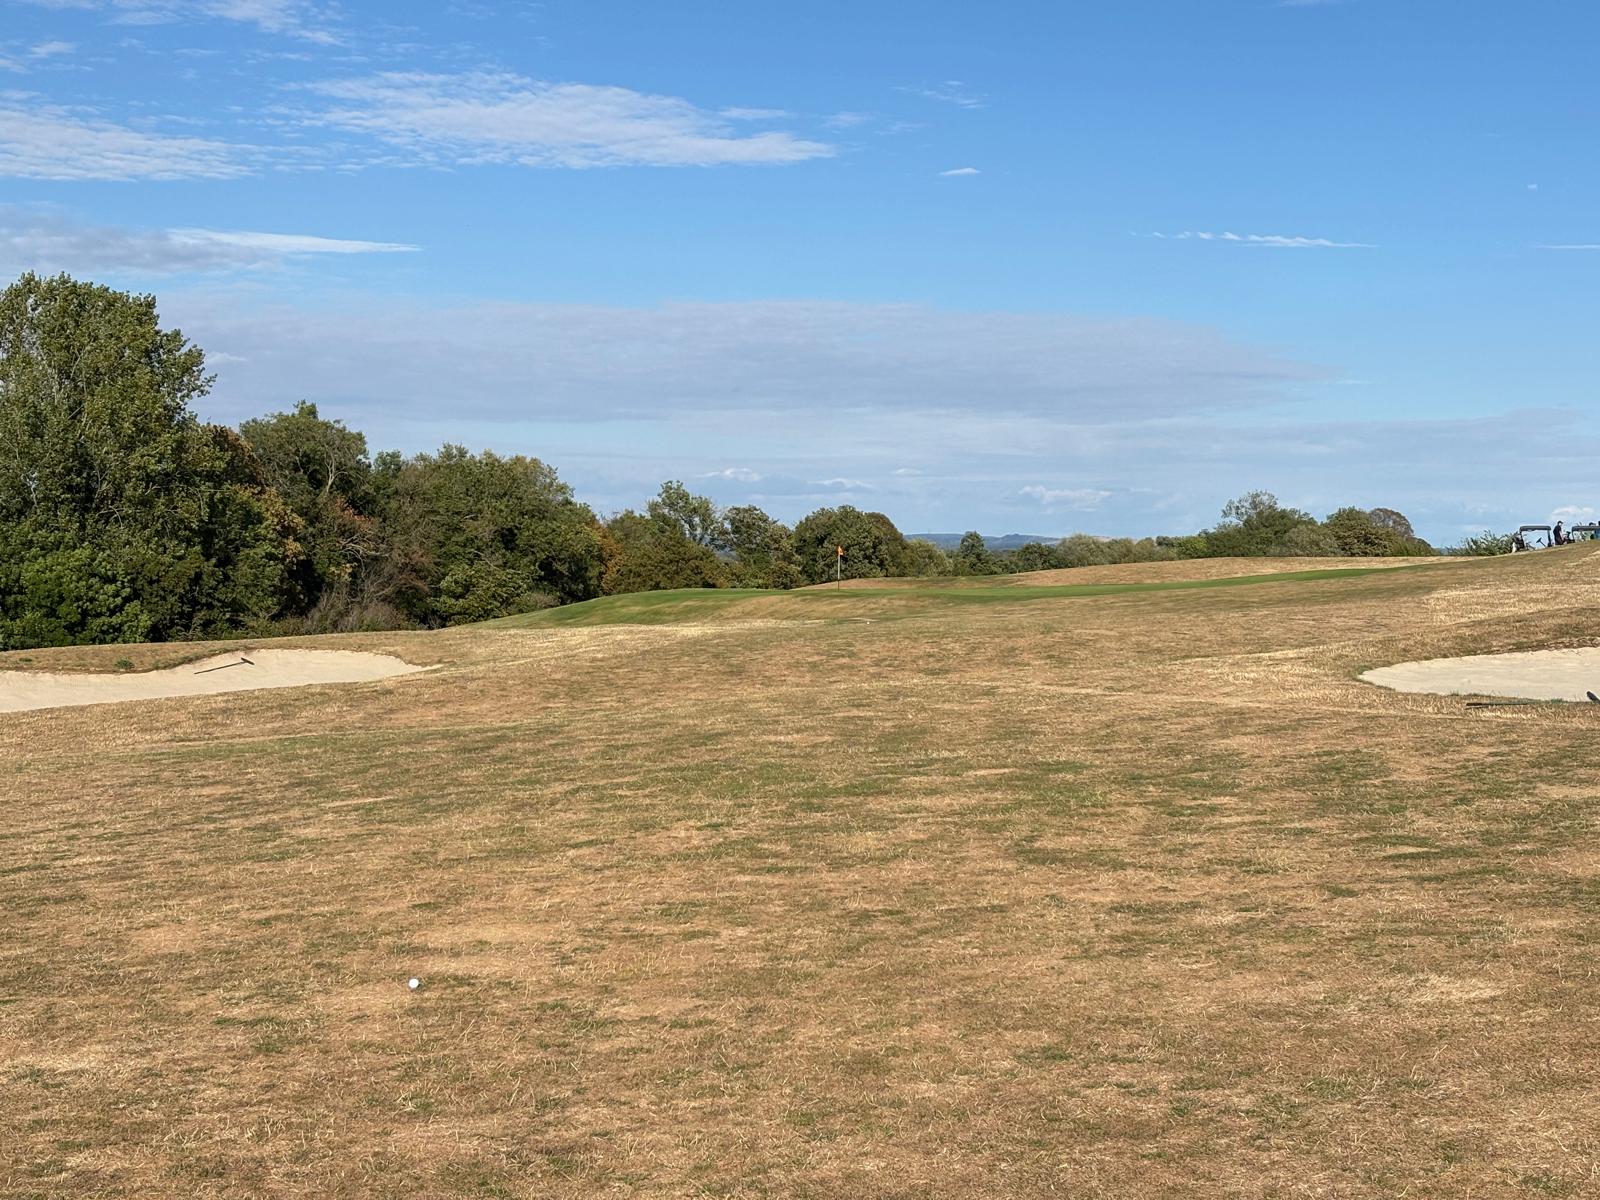
During the recent hot summer, with the course playing firm, I was getting very close to the green from the tee. On one occasion I almost reached it and had little more than a flick with a wedge remaining. Now we’ve had some rain, normal service has resumed.
Hole 31 Par 3
A short par 3 with a narrow, elongated punch-bowl green.
The wind can come strongly from the right, which makes the shot more interesting than the yardage alone suggests.
Using the shape of the hole rather than fighting it can be the better option, with a controlled fade capable of working nicely into the green.
I’ve hit everything from a 9-iron to a 3-iron here depending on the wind.
Hole 32 Par 4
The fairway on 32 is extremely generous in places, but that doesn’t mean you can simply hit the ball anywhere.
The fairway bunkers influence which side you want to favour, and playing too safely to the right can leave a surprisingly awkward second shot.
Farther up the hole the fairway narrows considerably, so trying to drive as close to the green as possible isn’t automatically the easiest strategy.
Sometimes having more fairway just gives you more places to make the wrong decision.
Despite all those options, this is a hole I look forward to playing and one where I expect to have a chance of making birdie.
Hole 33 Par 4
By the time you reach the 33rd you’re at one of the highest points on the Cumberwell estate, with some excellent views across the surrounding countryside.
The hole itself is a long par 4 that normally plays into the prevailing wind.
It shares a very wide fairway area with the 34th, so there is plenty of room to the right. The problem is that the farther right you go, the longer and more blind the approach becomes.
Plenty of space doesn’t necessarily mean plenty of good options.
I’m always very happy to walk off this hole with a par.
Hole 34 Par 5
Another strong driving hole.
The more aggressive line is towards or just over the left-hand fairway bunker, but taking that route requires a committed and accurate tee shot.
Playing farther right is safer and can still set up a straightforward par, although there’s a well-positioned bunker surrounded by longer rough around 50 yards short of the green that can complicate an otherwise sensible approach.
It’s one of those hazards that becomes considerably more obvious once you’ve found it.
This is another hole where I feel I should have a genuine chance of making birdie.
Hole 35 Par 5
The 35th is normally a serious golf hole, particularly from the back tees. At close to 600 yards and usually playing into the prevailing wind, reaching a useful position for the approach takes some work.
At the moment, however, it’s playing as a temporary par 4, with the tees only around 340 yards from the green.
From this forward position I favour the left side of the fairway. That gives me the better angle into the green, while the natural slope of the fairway can feed shots towards the bunker on the right.
The green itself has enough movement, particularly towards the back left, to make getting there only part of the challenge.
Hole 36 Par 3
Orange finishes with a distinctive par 3 played towards a green with a wall behind it.
The wall can actually help if you’re long enough to use the rebound, but the less obvious danger is the hidden swale short and right of the green.
A weak shot can disappear into it and leave a much more difficult chip than you might expect from the tee.
It’s an interesting way to finish nine holes that have repeatedly demonstrated that where the ball finishes matters more than how much room appeared to be available when you hit it.
A couple of times I’ve stood on this tee under par and somehow found this little par 3 more of a challenge than I think it should be.
Something to work on.